
Can I edit video in Photoshop? Yes, and it works better than most people expect. Photoshop treats video like a stack of layers moving through time. If you already know the app, that idea feels familiar fast.
This guide breaks down exactly what Photoshop can and cannot do with video. You will learn how the Timeline panel works, which tasks fit best, and when a dedicated video editor makes more sense. By the end, you will know if Photoshop fits your next project.
Photoshop is not trying to replace Premiere Pro or Final Cut. It fills a different role. Think of it as a fast, design-friendly way to turn still assets into short, polished video content.
Table of Contents
Can I Edit Video in Photoshop? A Quick Overview

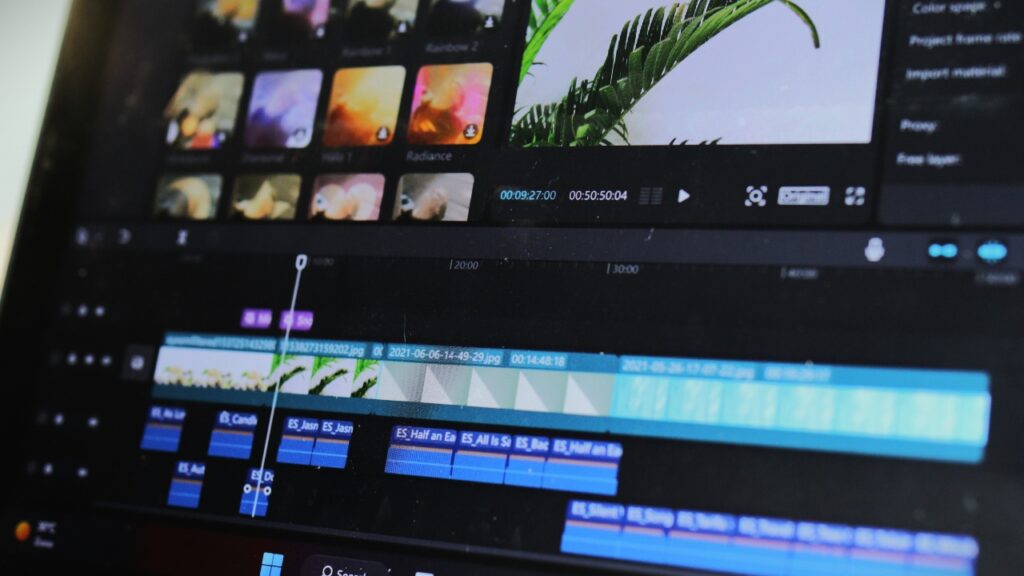
Photoshop can edit video through its Timeline panel. This feature turns layers into time-based elements instead of static objects. You can trim clips, change their order, and animate properties like position, opacity, and scale.
The tool treats video the same way it treats a PSD file. Each layer sits in a stack. The difference is that layers can now change over the length of a clip instead of staying fixed in place.
This makes Photoshop video editing approachable for designers. You already know layers, masks, and adjustment tools. The Timeline panel just adds a clock to that same system, so nothing about the core workflow feels unfamiliar.
How Photoshop Compares to Traditional Video Editors
Traditional editors like Premiere Pro focus on clips, tracks, and detailed audio control. Photoshop focuses on layers, effects, and visual composition. That difference shapes what each tool does best.
Premiere Pro suits long-form editing and complex audio work. Photoshop suits short, graphic-heavy clips where design matters more than pacing. Knowing this difference early helps you pick the right tool before you sink time into a project.
Why Use Photoshop for Video Editing
Convenience drives most of the demand for Photoshop video editing. Designers already know the interface. They do not want to learn a new program just to trim a short clip or add a title over footage.
Photoshop also keeps design and video work in one file. That matters for teams that need consistent branding across static graphics and video content. A logo, font, and color palette can move between formats without extra setup or exporting between apps.
Best Projects for Photoshop Video Editing
Photoshop works well for:
- Short social media clips with strong branding
- Product promos that need clean typography
- Quote animations and lower-third graphics
- Presentation clips with light motion
- Portfolio reels built from existing photo assets
Where Photoshop Falls Short
Photoshop struggles with long-form editing, multi-camera footage, and detailed audio mixing. It also lacks advanced color grading tools found in dedicated editors. Complex transitions and precise audio sync work better in software built specifically for that purpose.
Getting Started With the Photoshop Video Workspace
The first step is opening the Timeline panel. Go to Window, then Timeline. This panel controls clip order, duration, and animation timing for your whole project.
Once open, Photoshop shifts from a photo editor into a lightweight motion tool. You still use the Layers panel, but now those layers exist inside a moving sequence rather than a single frame.
Key Panels You Need to Know
- Timeline panel for clip order and timing
- Layers panel for stacking video, text, and graphics
- Properties panel for transform and effect settings
- Playback controls for scrubbing and preview
Setting Up a New Video Timeline Document
Create a new document sized for your target platform. A square or vertical frame works well for social media. A widescreen frame suits presentations or longer content. Set your frame rate to match your source footage before you import anything, since changing it later can cause playback issues.
Pro Tip: Rename layers as soon as you add them. It saves real time once your timeline fills up with clips, text, and graphics.
Importing and Preparing Video Clips
Before editing, get your files ready. Use File, then Open, or drag clips directly into a timeline document. Photoshop reads common formats like MP4 without much trouble.
Large or high-bitrate files can slow the workspace down. This matters more once you add several graphic layers on top of your footage, since Photoshop has to render every layer for each preview.
Supported File Types and Formats
Photoshop supports most standard video formats, including MP4, MOV, and AVI. Stick to compressed, standard formats for smoother playback. Avoid unusual codecs that may cause import errors or missing frames.
Tips for Smooth Performance
- Trim long clips before importing when possible
- Close unused documents to free up memory
- Use proxy files for very large projects
- Keep your graphic layers organized to avoid clutter
Core Video Editing Tasks in Photoshop
Once your footage is in place, Photoshop handles a solid set of basic edits. You can trim clips, reorder them, and combine several pieces into one short sequence.
Trimming removes dead space at the start or end of a clip. This works well for teasers, demos, and quick social content where every second counts.
Trimming and Arranging Clips
Select a clip on the timeline and drag its edge to shorten it. You can also split a clip at the playhead to remove a section from the middle. Reorder clips by dragging them into a new position on the timeline.
Layering and Reordering Footage
Stack multiple video layers to create simple compositing. Higher layers appear on top of lower ones, just like in a still image. This makes it easy to place a logo, caption, or graphic above your footage without extra tools.
Combining Clips Into a Sequence
You can line up several short clips end to end to build a simple sequence. Add a short fade between clips for a smoother transition. This approach works well for before-and-after content or quick highlight reels.
Adding Motion to Still Images
Photoshop shines when it turns static images into moving content. A product photo, portfolio shot, or graphic can gain simple motion without a full animation workflow.
The most common technique is a slow pan or zoom. A photo can drift into place. A logo can fade in as text appears nearby, adding a sense of movement without much extra work.
Simple Pan, Zoom, and Fade Techniques
Animate the Transform properties of a layer to create movement. Set a starting keyframe, move the playhead, then adjust position or scale to set an ending keyframe. Photoshop fills in the motion between the two points on its own.
Key Takeaway: Keep movement subtle. A small amount of motion adds polish. Too much can distract from your message and make the piece feel busy.
Using Filters and Color Adjustments
Photoshop’s strength in image quality carries over to video. Standard tools like brightness, contrast, and color balance can fix uneven footage pulled from different sources.
A dim clip can be brightened. A warm-toned shot can be cooled down. Mixed footage from several cameras or phones can be nudged toward a consistent overall look.
When to Use Filters and When to Hold Back
Use light corrections for consistency across clips. Save stronger creative filters for stylized content where the effect actually supports the message. Preview your changes across the full timeline, since an effect that looks good on one frame may not hold up on others.
Adding Text and Graphic Overlays
Typography is one of Photoshop’s strongest features, and that strength carries directly into video work. You can add titles, captions, and branded overlays with exact placement and spacing.
This precision is why many designers choose Photoshop for overlay-heavy content instead of learning a separate motion tool just for text.
Common Overlay Types for Branded Video
- Lower-third text for names or titles
- Product callouts near an item on screen
- Promotional banners with dates or offers
- Logo placement in a fixed position
Getting Placement and Spacing Right
Use guides and the alignment tools you already rely on for print or web design. Snap text to a grid so it stays consistent across every clip in the project. Consistent spacing makes a video feel more polished, even with simple motion.
Creating Short-Form Video Content
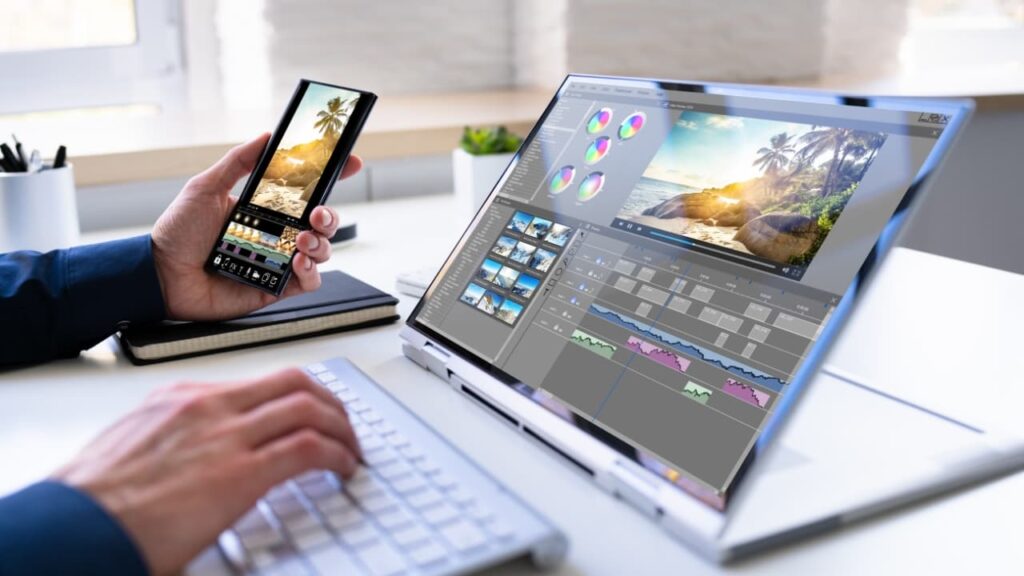
Short clips are where Photoshop performs best. A teaser, announcement, or quote animation can move from raw assets to a finished export quickly.
Keep the runtime tight. A strong opening frame and a clear message matter more than elaborate editing when the video only runs for a few seconds.
Ideas That Work Well for Social Media
- Event announcements with animated text
- Quote cards with light motion
- Product teasers under 30 seconds
- Story-style assets with simple transitions
Exporting Your Video From Photoshop
Once your edit is finished, Photoshop can render it into a shareable file. Go to File, then Export, then Render Video. Choose settings that match where the video will live.
Settings to Check Before You Export
- Resolution that matches your target platform
- Frame rate consistent with your source clips
- File format supported by your upload destination
- Final preview to catch timing or text issues
Warning: Skipping the final preview is a common mistake. A clip that looks fine while editing can still break after export if the settings are off.
Photoshop vs Dedicated Video Editors
Photoshop works well for short, design-first projects. It struggles once a project needs advanced cuts, multi-camera footage, or detailed audio work.
Signs Your Project Has Outgrown Photoshop
Consider switching to a dedicated editor if you need:
- Precise audio sync and mixing
- Multi-scene storytelling with complex pacing
- Advanced transitions beyond fades and wipes
- Long-form content that runs past a few minutes
Moving to a dedicated editor is not a failure. It usually means your project has grown past the point where Photoshop was ever meant to help.
Common Mistakes to Avoid
Even simple edits can go wrong without a bit of planning. A few habits separate a clean Photoshop video project from a frustrating one.
Overloading the Timeline
Adding too many clips and graphic layers at once slows Photoshop down and makes small edits harder to manage. Build your project in stages instead of stacking everything up front.
Skipping Organization
Unnamed layers and messy groups turn a simple revision into a long search. Group related items and label them clearly from the start.
Ignoring Export Settings
Exporting at the wrong resolution or frame rate leads to blurry or choppy playback. Always match your export settings to the platform where the video will appear.
Conclusion
Can I edit video in Photoshop? Yes, and it handles more than most people expect. Trimming, layering, text overlays, and simple animation all fit inside the app you may already know.
Photoshop works best for short, visual-first projects. Once a project needs advanced audio work or complex scene changes, a dedicated editor becomes the smarter choice.
Start small. Animate one image. Add a title over a clip. Export a short test video. Once you see how the Timeline panel behaves, you will know exactly where Photoshop fits into your workflow.